3 Steps to Better Blog Content
What if I told you that it’s just 3 steps to better blog content?
The days of old school blogging are behind us. You can’t just log on, write a few rambling paragraphs about your favourite lipstick, upload a single poorly exposed snapshot of it, and call it a day.
Well I mean, I suppose you could… but would anybody read it? Probably not, because the internet is a vast black hole of beauty, lifestyle, fashion, tech blogs and beyond.
You need to get ‘seen’. There are a few ways that you can easily elevate your content so that you can carve out your own little plot of internet land.
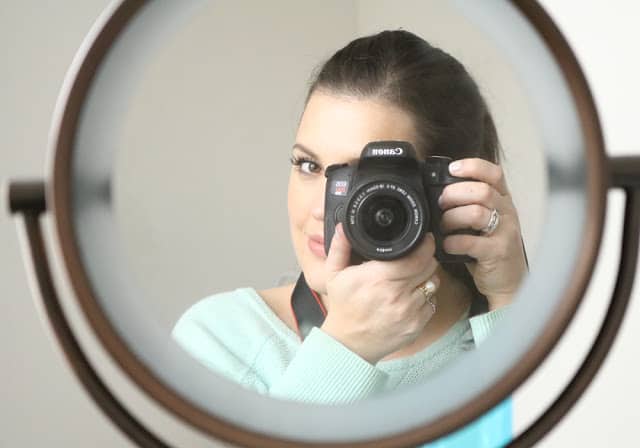
Learn how to use your camera & do basic editing.
It’s 2019 and it still hurts my photography background heart that there are blogs out there with dark, poorly styled photos.
You may have the most amazing written content ever. It’s the images in your post that are going to grab someone’s eye, though.
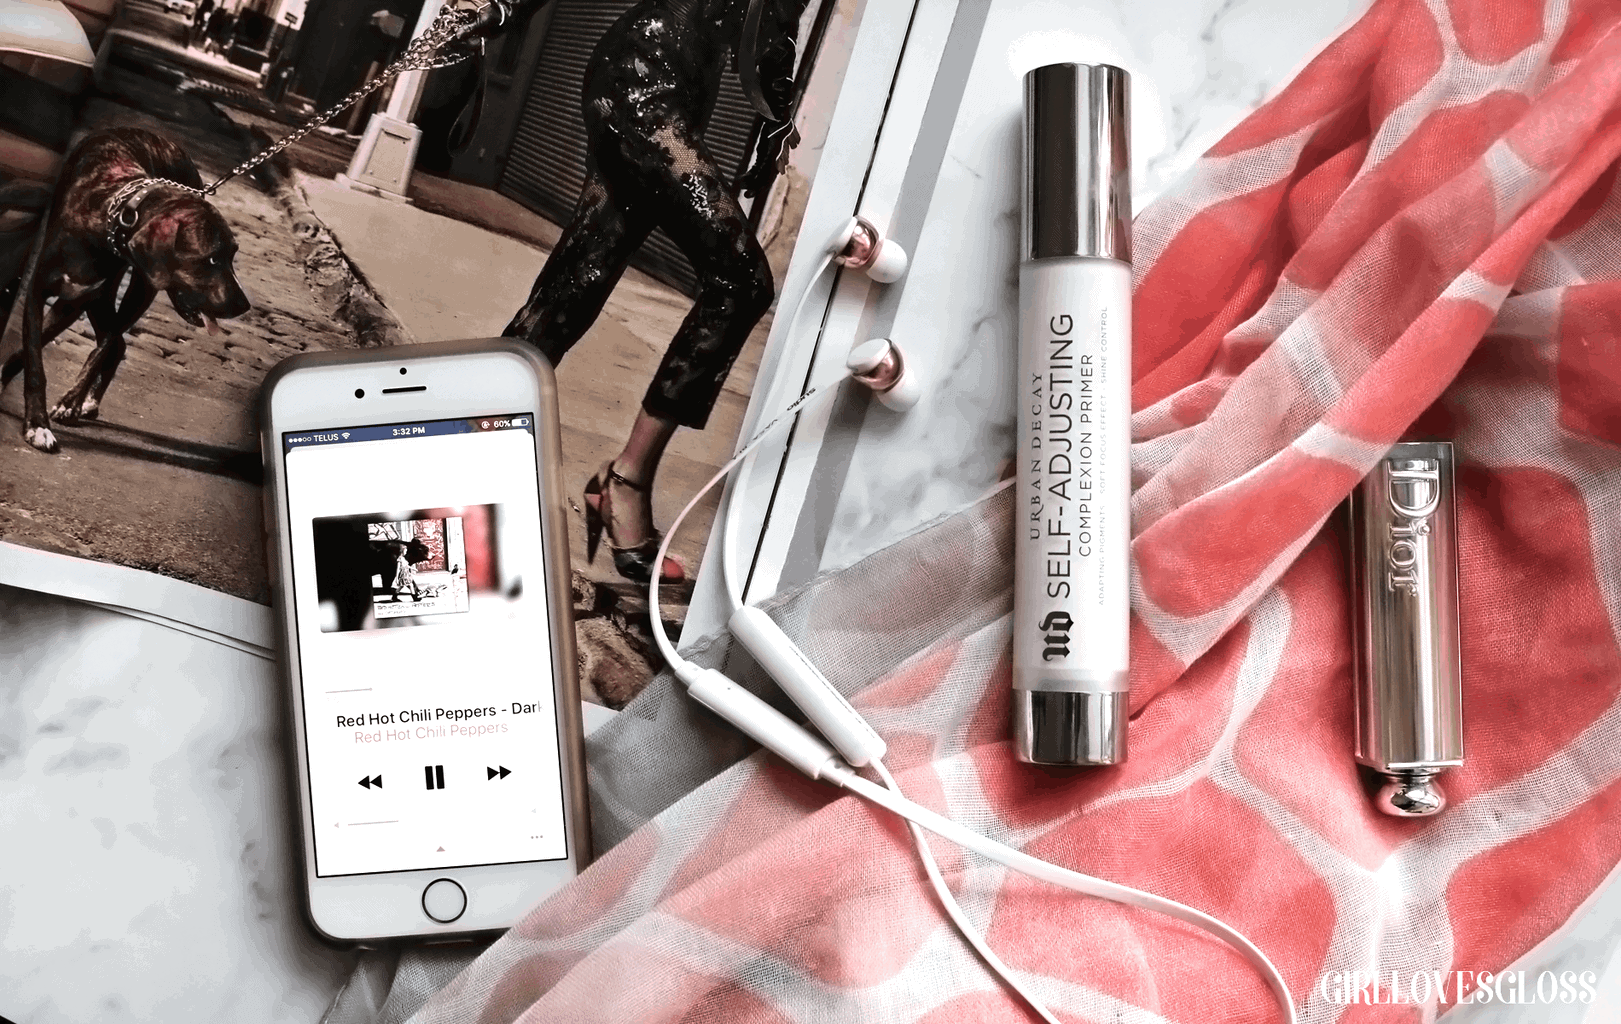
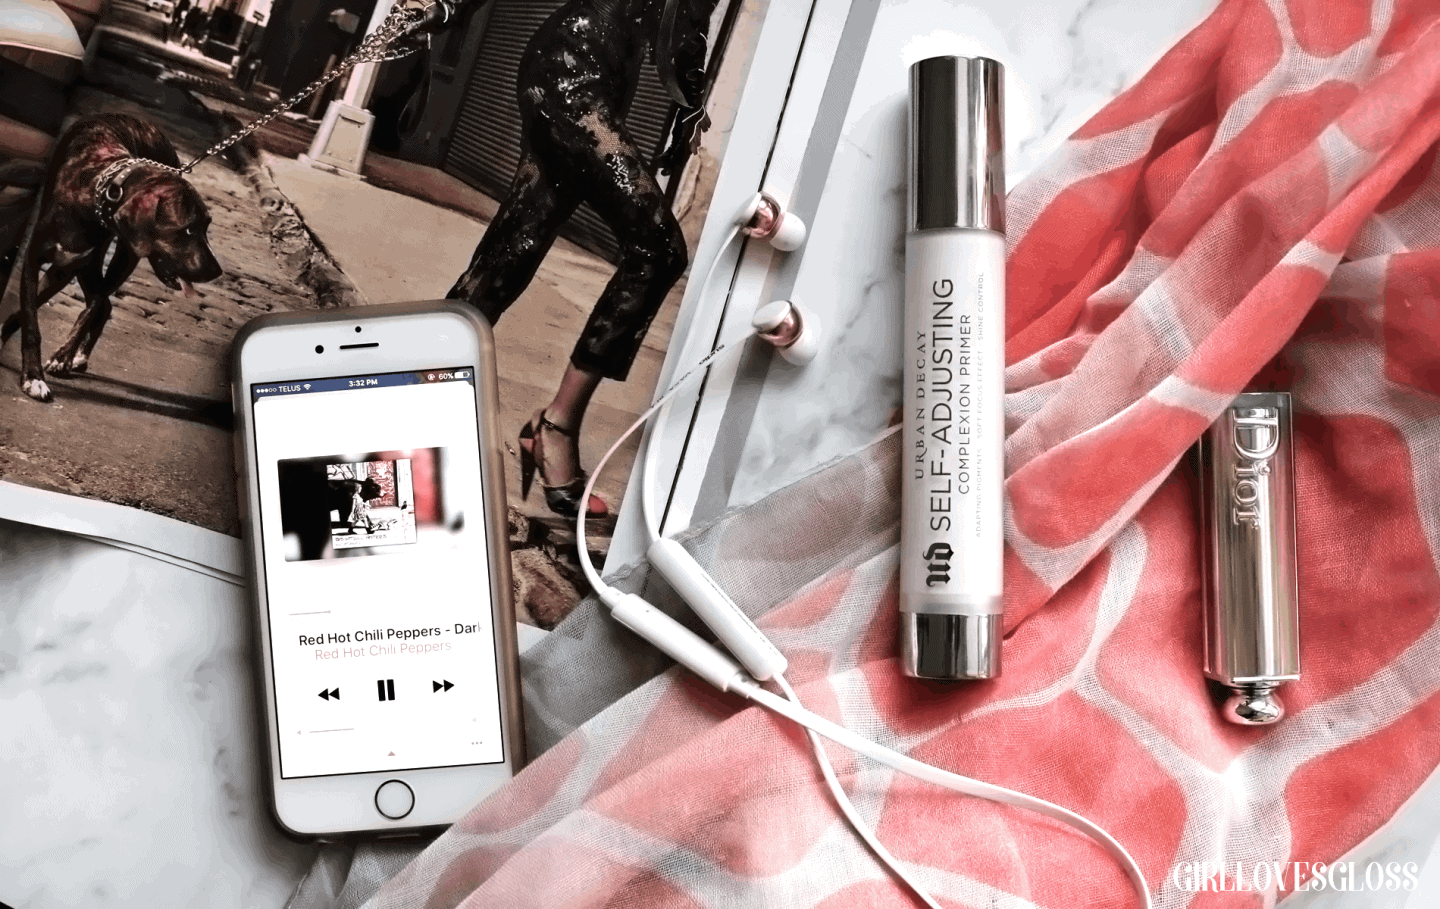
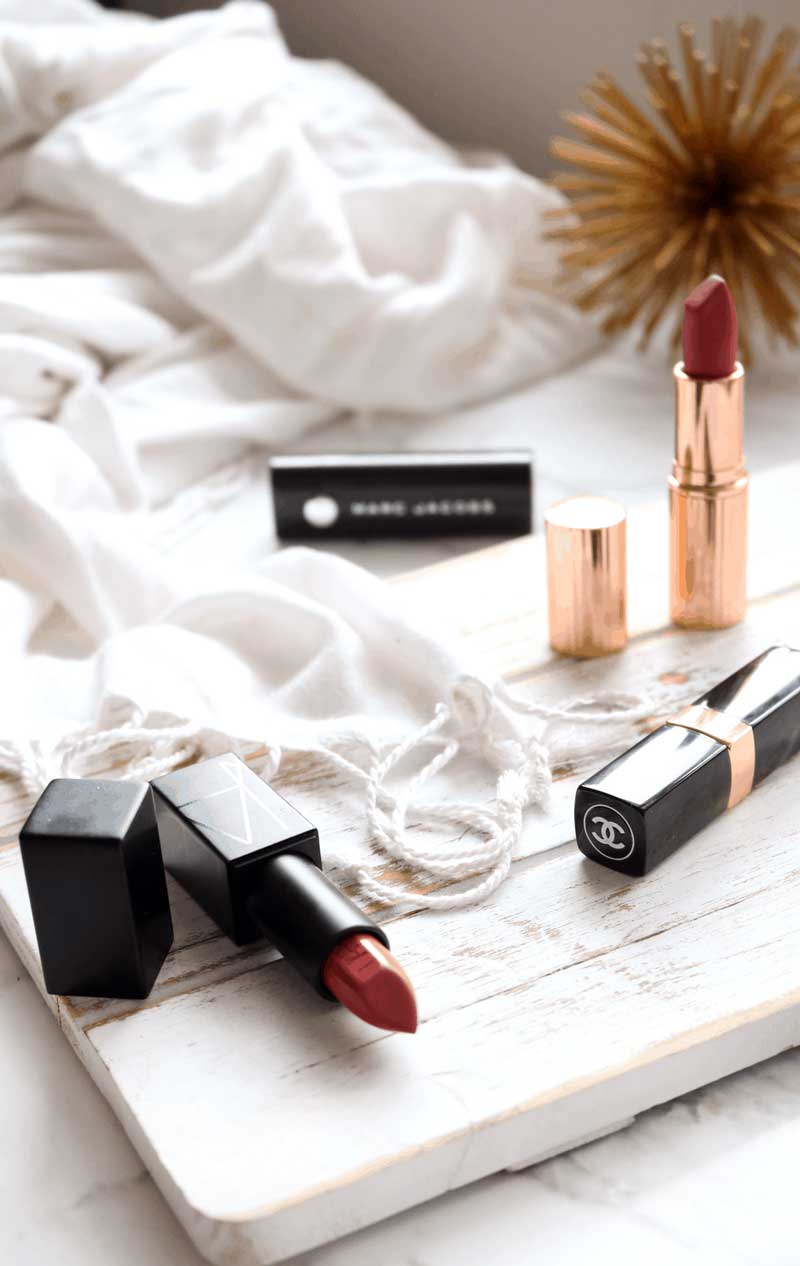
The days of snapping a single pic of a pile of makeup on a marble backsplash or next to your bathroom sink are gone. You’ve got to style product shots in a way that evokes a feeling!
Practise rearranging products. Use double-sided tape or sticky tac to keep products from rolling around and experiment with props.
If you take pictures of yourself, invest in a tripod (This is the tripod I use for my DLSR and this is the tripod I use for my iPhone) and use even and consistent lighting from a ring light or in front of a window (or make your own IKEA DIY vanity mirror like I did).
Take pictures from different perspectives in a vertical orientation to add depth to your post.
If you’re going to take the time to write the content, taking the time to make quality visual content is a no brainer.
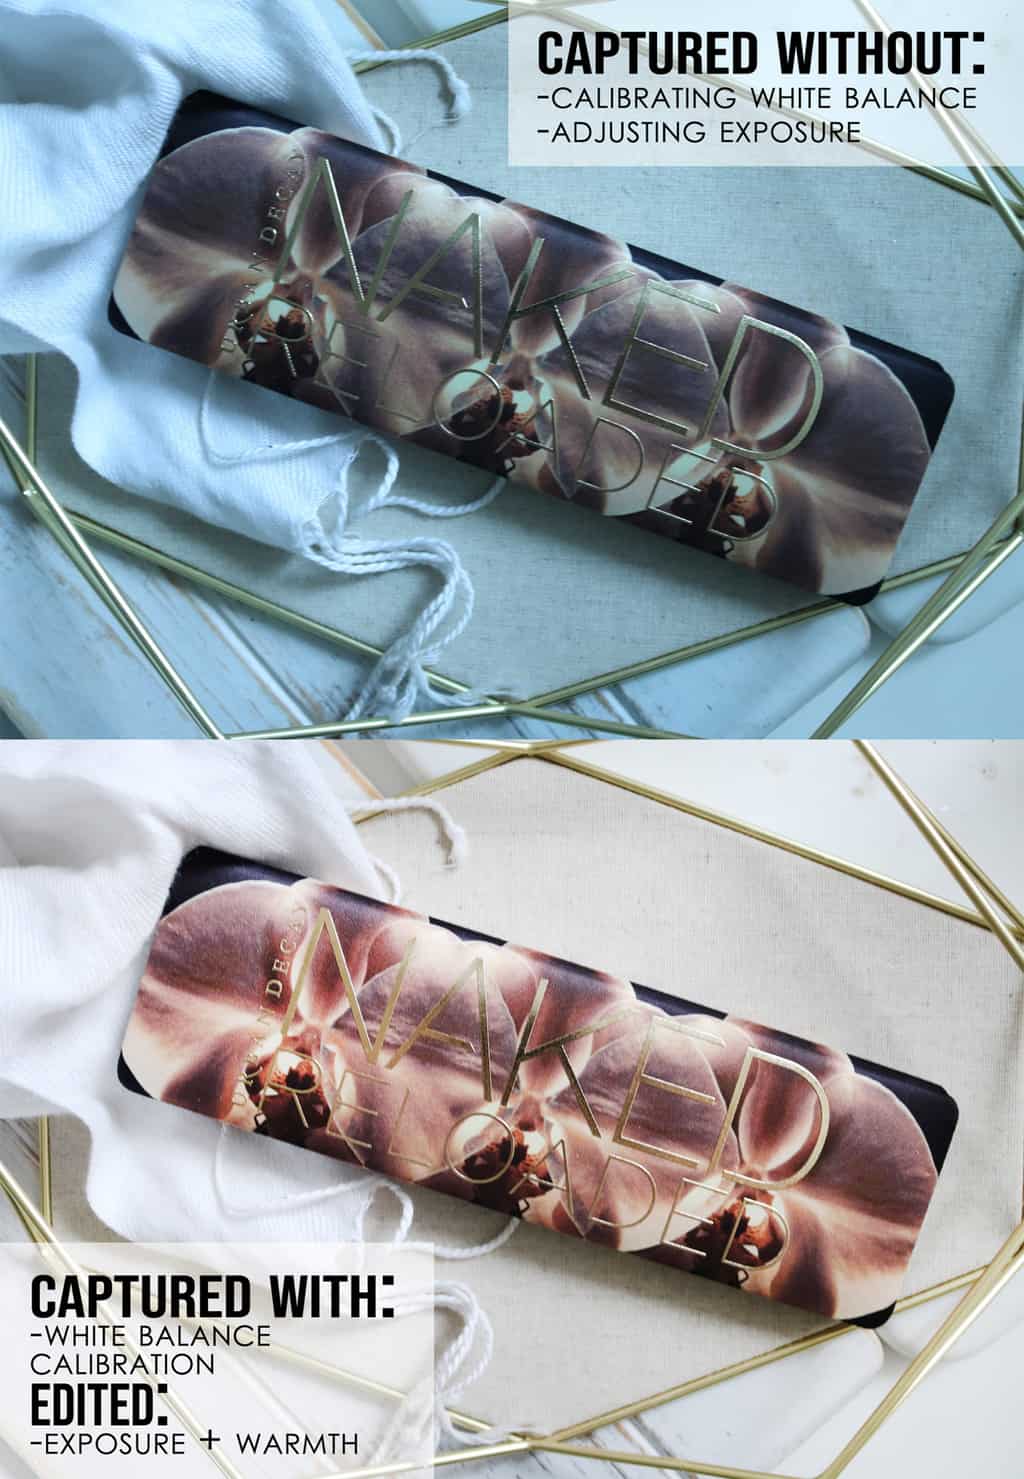
When using your camera, learn to set your white balance so that you can avoid nasty colour casts like in the demographic above. It takes 10 seconds and makes a world of difference!
I edit all my images with Adobe Photoshop, but there are some amazing free programs out there like PicMonkey and the Lightroom App that you can use right from your phone.
With these you can do basic edits like adjusting your exposure, highlights and shadows to get the most professional look.
Grammar and Spelling are Key
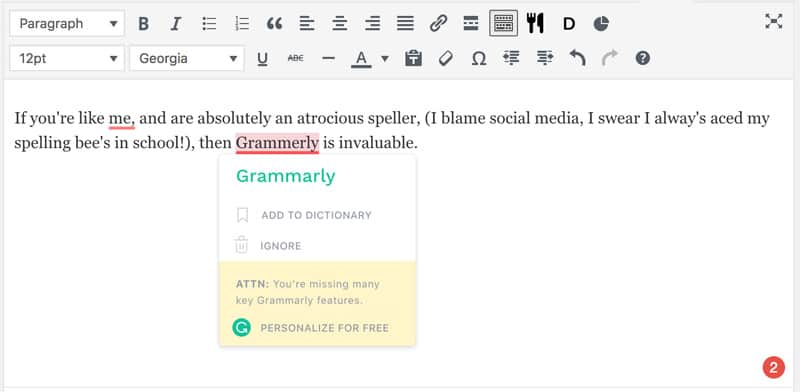
If you’re like me and are absolutely an atrocious speller, (I blame social media, I swear I always aced my spelling bees in school!), then Grammarly is invaluable.
Grammarly doesn’t just check for spelling mistakes. It also it checks your grammar, hence the name. When you install it on your browser, it automatically runs on your pages. It’s consistently saving me from making embarrassing mistakes on everything from professional content, emails, presentations, social media posts and even messaging apps.
Quite frankly, I won’t be without it and have used it for years no to keep my content in check. I cringe when I read back old posts and see completely avoidable grammatical and spelling errors!
You can download Grammarly for free (seriously, install it now you will thank me!) and it will check your grammar, spelling and punctuation. However, the Premium account has an incredible value of offering features such as checking for:
- Inconsistent language
- Ineffective or unclear writing and sentence structure
- Insensitive or non-inclusive language (How many big publications and public figures have been burned by inclusivity ignorance??)
- Plagiarism (Hello students, this could be your best friend!)
Get Pinnable
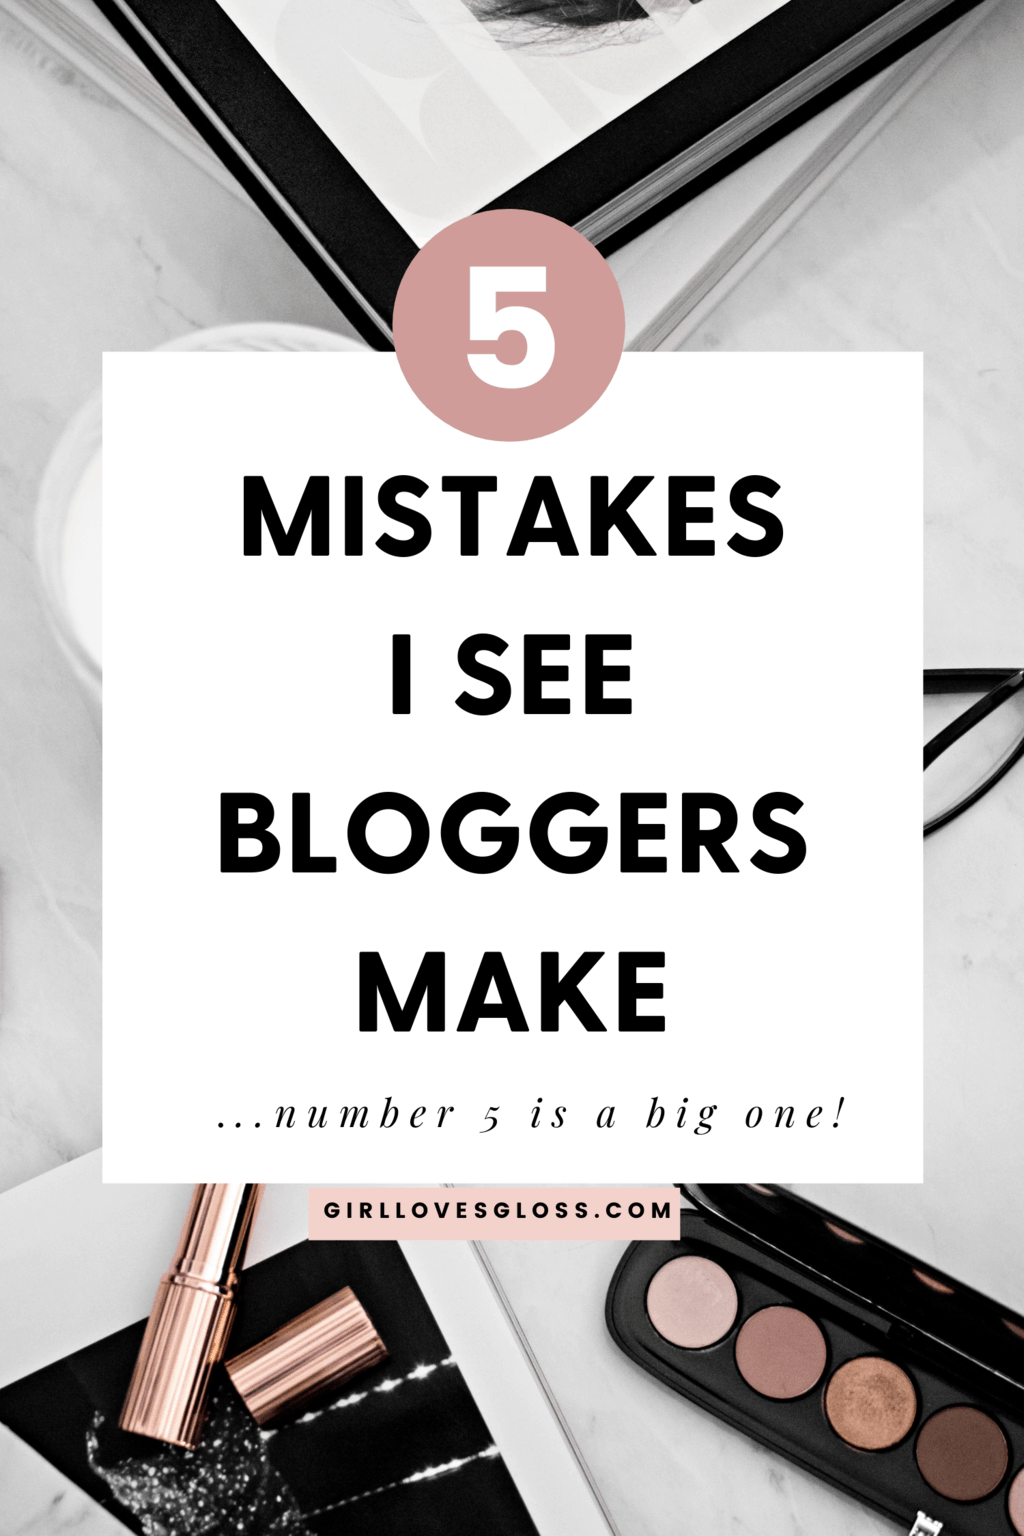
This is something I’m currently working on being more consistent with myself. One of the biggest traffic sources to Girl Loves Gloss is Pinterest. I notice a significant boost in traffic when I regularly pin images that have ‘Pinnable content’.
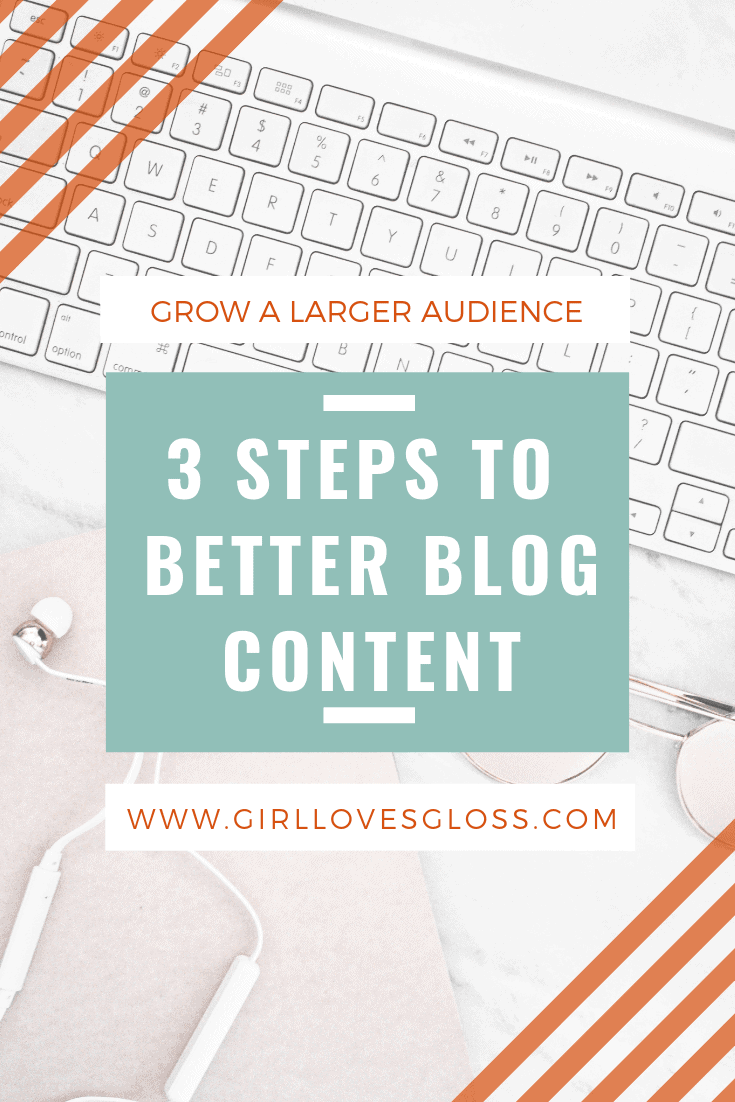
Pinnable images are always vertical.
They’re super easy to make with programs like Canva, that already have the size specs for you. I like to jazz mine up with some details and make them look like the title page of a book report I wrote in the seventh grade.
You want eye-catching content that someone wants to pin for later. The more your content gets pinned, the more organic traffic you drive to your blog or website. This means more views without having to lift another finger!
I usually leave my Pinterest-styled images at the top and bottom of the post so it’s the last thought I leave with a reader.
So there you have it; 3 easy but essential changes you can make to your blog content to get those views popping!
What are you’re essential blog tips?
Are you making one of my 5 Blogger Mistakes?

