
DIY Gel Nail Polish Manicure or Pedicure At Home

SOB STORY ALERT! MY STAY AT HOME MOM BUDGET DOESN’T INCLUDE SALON MANI/PEDIS.
I know, I know, I am so hard done by. What can I say, I do really like having my nails done! Since I chase after a maniac toddler and wash my hands about 30573 times a day, regular polish just doesn’t always cut the mustard, you know what I mean? I still love to polish for events out or sometimes for the ritual of it, but when it comes to longevity, gel nail polish is the way of the future for me. So I’ve been doing my own LED/UV Gel nail polish manicures at home, DIY style, and I am pretty chuffed with the results.

HOW TO GIVE YOURSELF A GEL MANICURE
There’s some initial investment here in terms of getting the correct supplies in order to be able to get gel nail polish to work at home. All in all, it’s about the price of two trips to the salon for a gel mani or pedicure, so it’s not significant. If you consider how much you might spend in a year, or how often you can enjoy pretty nails in the comfort of your own home indefinitely, it’s a measly amount. Especially given the longevity of having gel nail polish on your nails, and how much more durable it is. I always find my normally thin brittle nails are so much more protected when I have a gel manicure!
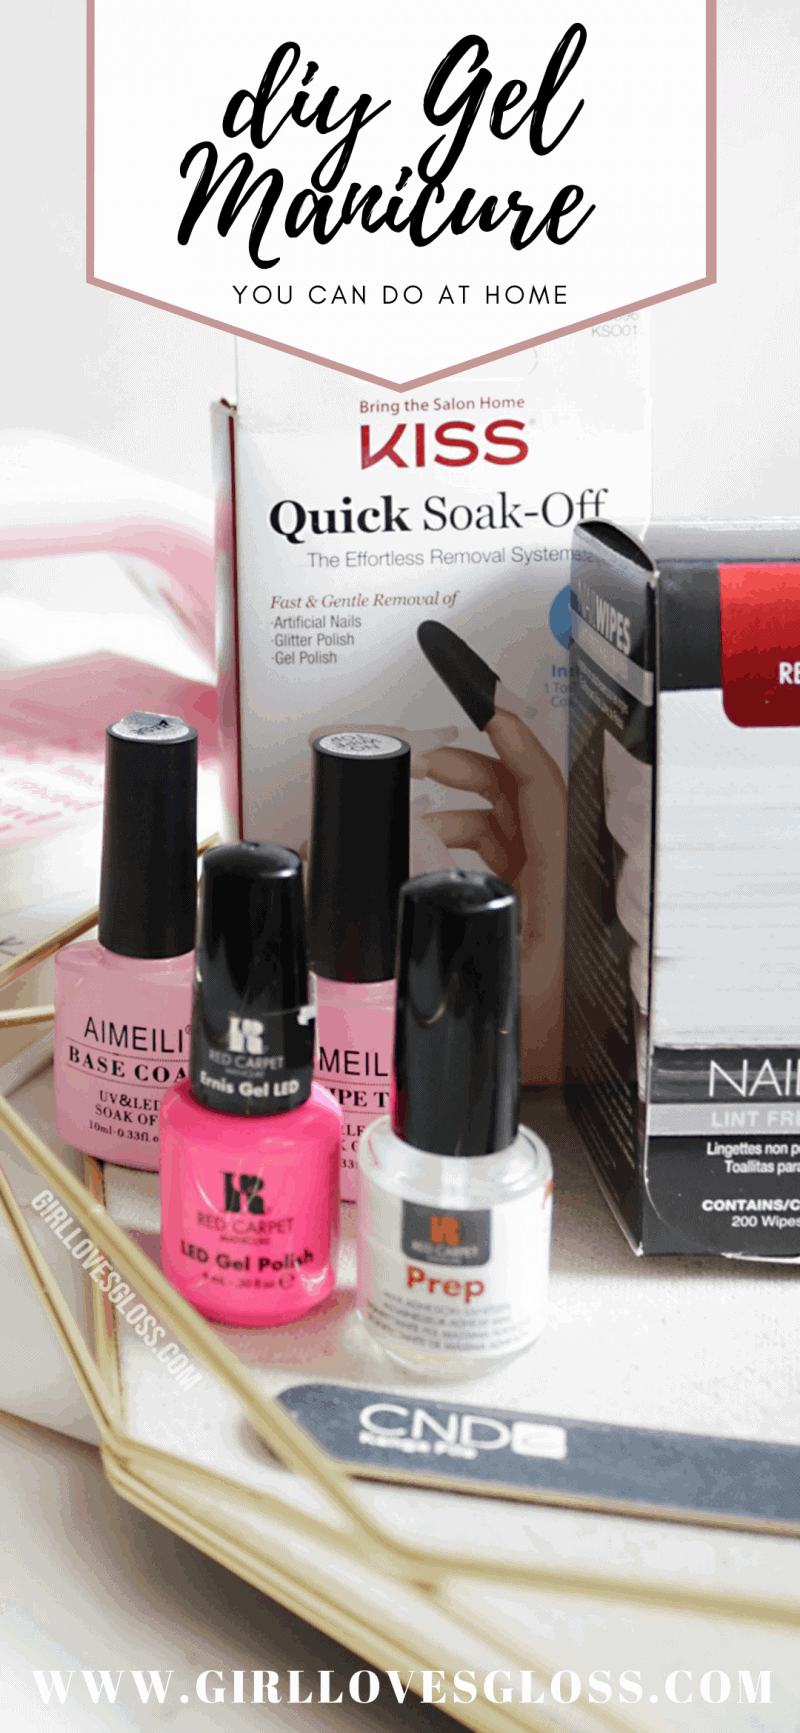
WHAT YOU’RE GOING TO NEED:
- A 24W LED/UV Gel Curing Lamp
- Soak Off LED/UV Gel Base and Top Coat
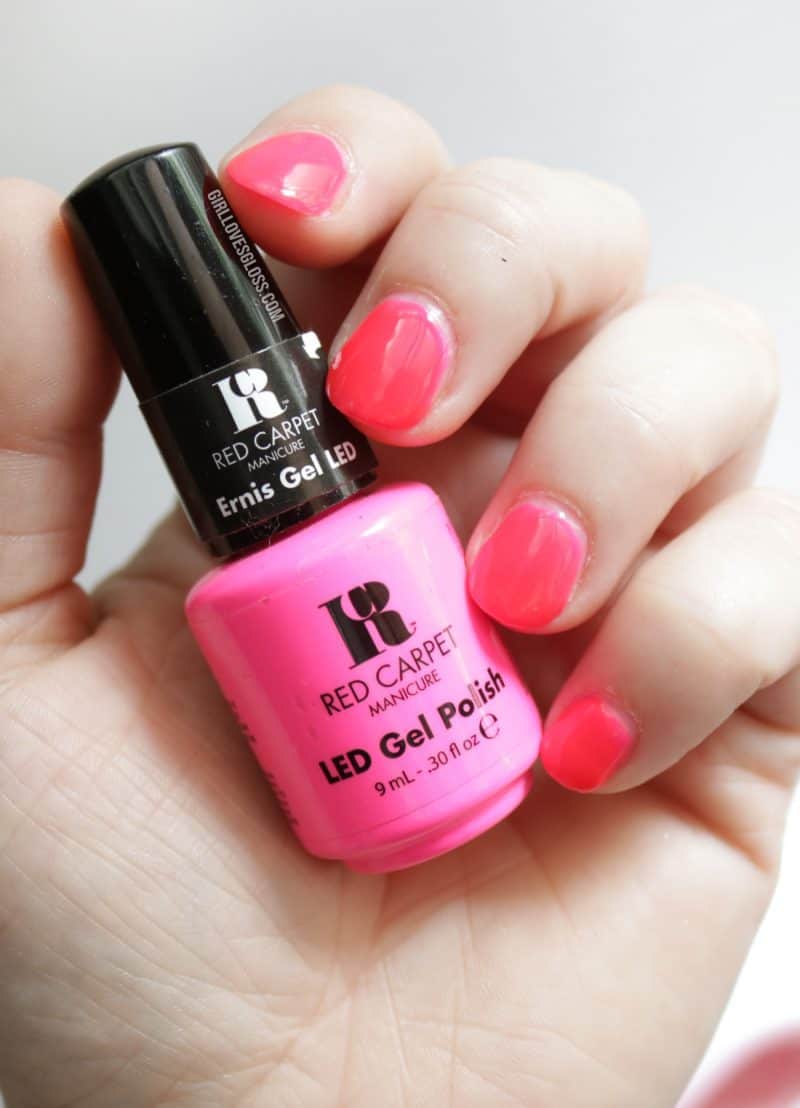
- LED/UV Gel Polish Colour of choice. I really love the brand Aimeili for loads of fun colours, or Red Carpet Manicure, which I used in the nails demo’d in this post (shade is Star Power and its a gorgeous neon coral pink)
- Cuticle Oil like my favourite CND Solar Oil*
OPTIONAL (but I recommend):
- Red Carpet Manicure Lint Free Nail Wipes if you don’t get a ‘No Wipe’ top coat (for example the Red Carpet Manicure Top Coat is not a ‘No Wipe’). Regular cotton DOES NOT work here.
- Red Carpet Manicure Prep and/or Isopropyl Alcohol
- Acetone
- Kiss Quick Soak Off Effortless Removal System*

STEP BY STEP LED/UV GEL POLISH HOW TO
- Start with bare, clean, dry nails. Use a lint-free wipe and some isopropyl alcohol or the RCM Prep. This step dehydrates the nails a bit so the gel can really grip.
- Use your base coat to evenly paint a thin layer on the nails of one hand.
- Place that hand under the lamp for 60 seconds
- Repeat if any missing spots, uneven texture etc
- Paint a thin coat of gel colour – don’t worry about getting it perfect without streaks.
- Place your hand under the lamp again for 60 seconds.
- Repeat steps 5 & 6 until the colour looks even and opaque enough for you.
- Paint a thin even coat of topcoat and cure in the lamp for 60, then repeat.
- If you’ve not used a ‘no wipe’ top coat, take your lint-free wipes and some isopropyl alcohol to wipe off the sticky residue.
- Repeat this all on the other hand (or foot for pedicures!)
- Wash hands, treat your cuticles to a little cuticle oil and enjoy your mani!

TO REMOVE GEL POLISH WITHOUT DAMAGING YOUR NAILS
- Use either a system like the Kiss Soak Quick Soak Off, or small pieces of cut up cotton rounds soaked in Acetone placed on the nails then wrap the tips of your fingers in tin foil.
- Leave foil or Kiss Soak Offs on for min 10 minutes, then check to see if polish will slough off with an orange stick, light file or cuticle pusher.
- Treat with nail oil like my fave CND Solar Oil*
I’ve been doing my own nails like this on and off for about 8 years now. It’s the only way I can get more than just a couple of days of nail colour wear. Even before I had my daughter, I always worked in a job where my hands were a bit used and abused. Often polish chipped before a full day had gone by!
Have you tried a gel/shellac style manicure?
Can you see yourself doing it at home?